
Índice do Conteúdo
Understanding the Basics of Candle Making
Candle making is an art that combines creativity with technical skills. To embark on the journey of how to make fruit loop candle, one must first grasp the fundamental principles of candle crafting. This includes understanding the types of wax, wicks, and fragrances that can be used. The choice of materials plays a crucial role in the final product’s quality and performance. For fruit loop candles, the selection of a wax that holds scent well and burns evenly is essential.
Gathering Necessary Materials
Before diving into the process of how to make fruit loop candle, it is vital to gather all necessary materials. You will need paraffin or soy wax, candle wicks, a double boiler for melting the wax, fragrance oils that mimic the fruity scent of fruit loops, and colorful dyes if desired. Additionally, prepare containers or molds for shaping your candles. Having everything ready will streamline the candle-making process and enhance your overall experience.
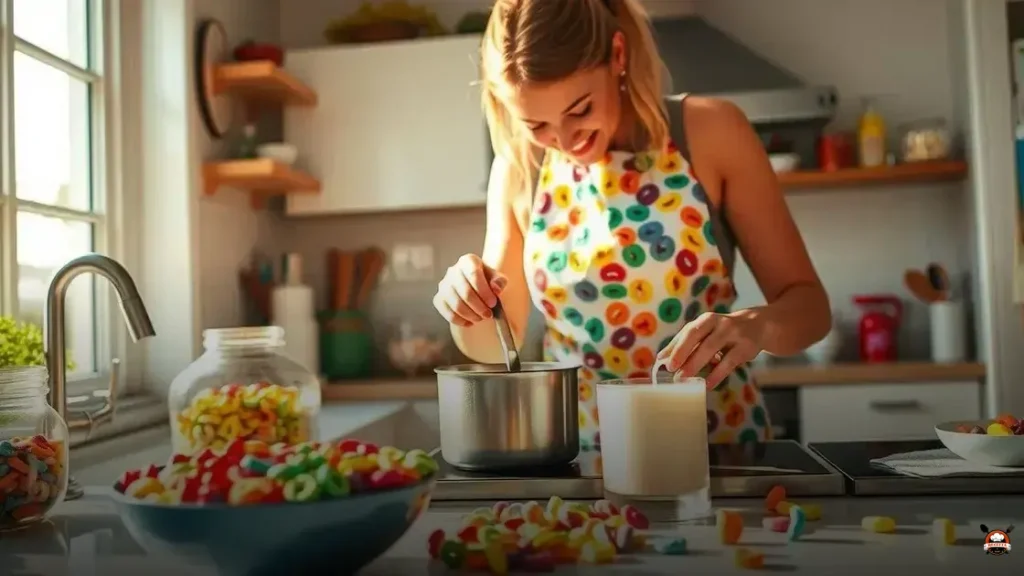
Melting the Wax
The next step in how to make fruit loop candle involves melting the wax. Using a double boiler is recommended to ensure that the wax melts evenly without burning. Heat the water in the bottom pot and place the wax in the top pot, stirring occasionally. Monitor the temperature closely; most waxes should be melted to around 170-180 degrees Fahrenheit. This careful melting process is crucial for achieving a smooth and consistent texture in your candles.
Adding Fragrance and Color
Once the wax is fully melted, it’s time to infuse it with the delightful scent that characterizes fruit loops. Add your chosen fragrance oil, typically around 1 ounce per pound of wax, and stir thoroughly to ensure even distribution. If you wish to enhance the visual appeal of your candles, this is also the moment to add colorants. Use candle dyes that are specifically designed for wax to achieve vibrant hues that reflect the playful colors of fruit loops.
Preparing the Wick
As you continue to explore how to make fruit loop candle, don’t overlook the importance of the wick. The wick must be properly prepared to ensure a clean and even burn. Trim the wick to the desired length, leaving about 1 inch above the wax surface. For larger candles, consider using multiple wicks to promote better burning. Secure the wick in the center of your container or mold using a wick holder or adhesive to keep it in place while pouring the wax.
Pouring the Wax
With the wax melted and the wick prepared, you are ready to pour the wax into your chosen container. Carefully pour the wax, ensuring that the wick remains centered. Pour slowly to minimize air bubbles, which can affect the candle’s appearance and burn quality. Allow the wax to cool slightly before topping off the candle with additional wax if necessary, as this can help create a smooth surface.
Cooling and Setting
After pouring, the next phase in how to make fruit loop candle is allowing the wax to cool and set. This process can take several hours, depending on the size of the candle. It’s important to avoid moving the candle during this time, as it can lead to imperfections. Once the candle has fully cooled and hardened, you can trim the wick to the desired length, ensuring it is ready for lighting.
Decorating Your Candle
To add a personal touch to your fruit loop candle, consider decorating the exterior. You can use stickers, paint, or even wrap the container in colorful paper that reflects the fun and vibrant essence of fruit loops. This step not only enhances the aesthetic appeal but also makes your candle a perfect gift or decorative piece for your home.
Testing Your Candle
Before showcasing your creation, it’s essential to test your fruit loop candle. Light it in a safe environment and observe how it burns. Check for an even burn, scent throw, and any potential issues such as excessive smoke or soot. This testing phase is crucial for ensuring that your candle performs well and meets your expectations.
Storing Your Candles Properly
Finally, understanding how to make fruit loop candle also includes knowing how to store them properly. Keep your candles in a cool, dry place away from direct sunlight to prevent melting or discoloration. Proper storage will extend the life of your candles and maintain their delightful fragrance, ensuring they remain a joy to use or gift.

